


Welcome to the Oura community! It’s time to set up your ring.
What you need:
- Your Oura Ring
- Your Oura charger
- The Oura App
- A stable internet connection
Let’s get started.
1. Download the Oura App.
You can download the Oura App from the App Store (for iOS) or Google Play (for Android).
2. Unbox the ring and charger.
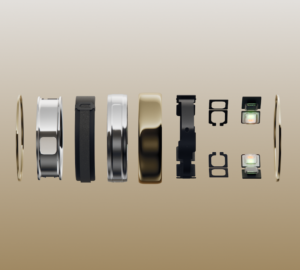
Every Oura Ring purchase comes with a charging kit, consisting of a charging dock and USB cable (Type-C), which will need to be connected to a separate power source such as a laptop or power brick.
3. Plug in the charger.
You can plug the charging cable into a USB power source, such as a laptop or supporting power brick.
4. Put your ring on the charger.
The LED will blink blue to indicate that your ring is ready to be paired.
5. Make sure your device’s Bluetooth is enabled.
Your device must support Bluetooth 4.0.
6. Follow the in-app instructions to set up your Oura account.
Follow the instructions in the app to create your Oura account and pair the ring with your phone.
READ MORE: How to Create an Oura Account
For more detailed set-up information, including if you need to set up a replacement ring or give your ring to a new member, view the Help Center guide here.
If you experience difficulty connecting your new ring, check out our Troubleshooting Connection Issues article.
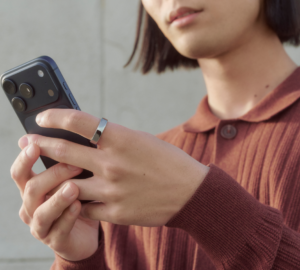
What Finger Should You Wear Oura Ring?
Once your ring is charged, you can begin wearing it.
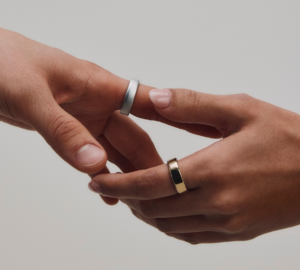
For the best performance and accuracy, we recommend wearing your Oura Ring on your index finger. If you’d prefer another, the middle and ring fingers can work as well. Avoid fingers where the base is narrower than the knuckle.
For the best fit and most accurate sensor readings, align your ring so that the sensor bumps are against the palm side of your finger.
LEARN MORE: Oura Ring Sizing Tips
Charging Your Ring
You can check the status of your ring’s battery in the Oura App by tapping the two circles in the top right-hand corner of the Home tab. If these circles appear in red, your ring’s battery is low and requires a charge. You may view the battery level of your ring by tapping on those two circles at any time.
When your ring is charging, you should notice a light begins blinking. This indicates that your ring is charging. When the LED turns green, your ring is fully charged. You’ll receive a push notification from your Oura App when charging is complete. Your Oura Ring can take 20-80 minutes to fully charge, depending on its current battery level.
To charge your ring:
1. Connect the USB cable to your charging dock and plug the other end into a power source, such as a USB wall plug, laptop, or power brick.
2. Place your ring on the charging dock. The charger light will pulse white while your ring is charging.
For Oura Ring 4, align the ring dimple with the charger light.

For Oura Ring Gen3, align the sensor bumps on the opposite side of the charger light, above the USB-C port.
Oura Ring 4 chargers are only compatible with Oura Ring 4. The Oura Ring 4 charger is grey and square and includes a USB-C to USB-C cable.
Gen3 chargers are compatible with both Gen3 and Gen2 rings. The Gen3 charger is black and circular and comes with a USB-C to USB-A cable.
Oura Ring chargers are size-specific and not water-resistant.
READ MORE: How to Use Your Oura Charger
How Long Does the Oura Ring Battery Last?
A fully charged ring may last up to seven days. Battery life and longevity can vary depending on the age of your ring and how often you use certain features, such as Workout Heart Rate, the Explore content, or Blood Oxygen Sensing.
LEARN MORE: Ring Battery Tips
Can You Shower With Oura Ring?
You can safely wear your ring in the shower, hot tubs, saunas, ice baths, and cryotherapy tanks. However, extended exposure to extreme temperatures (below 0°C / 32°F or above 35°C / 95°F) may lead to battery damage. The Oura Ring operating temperature ranges from -10–52°C / 14–125°F.
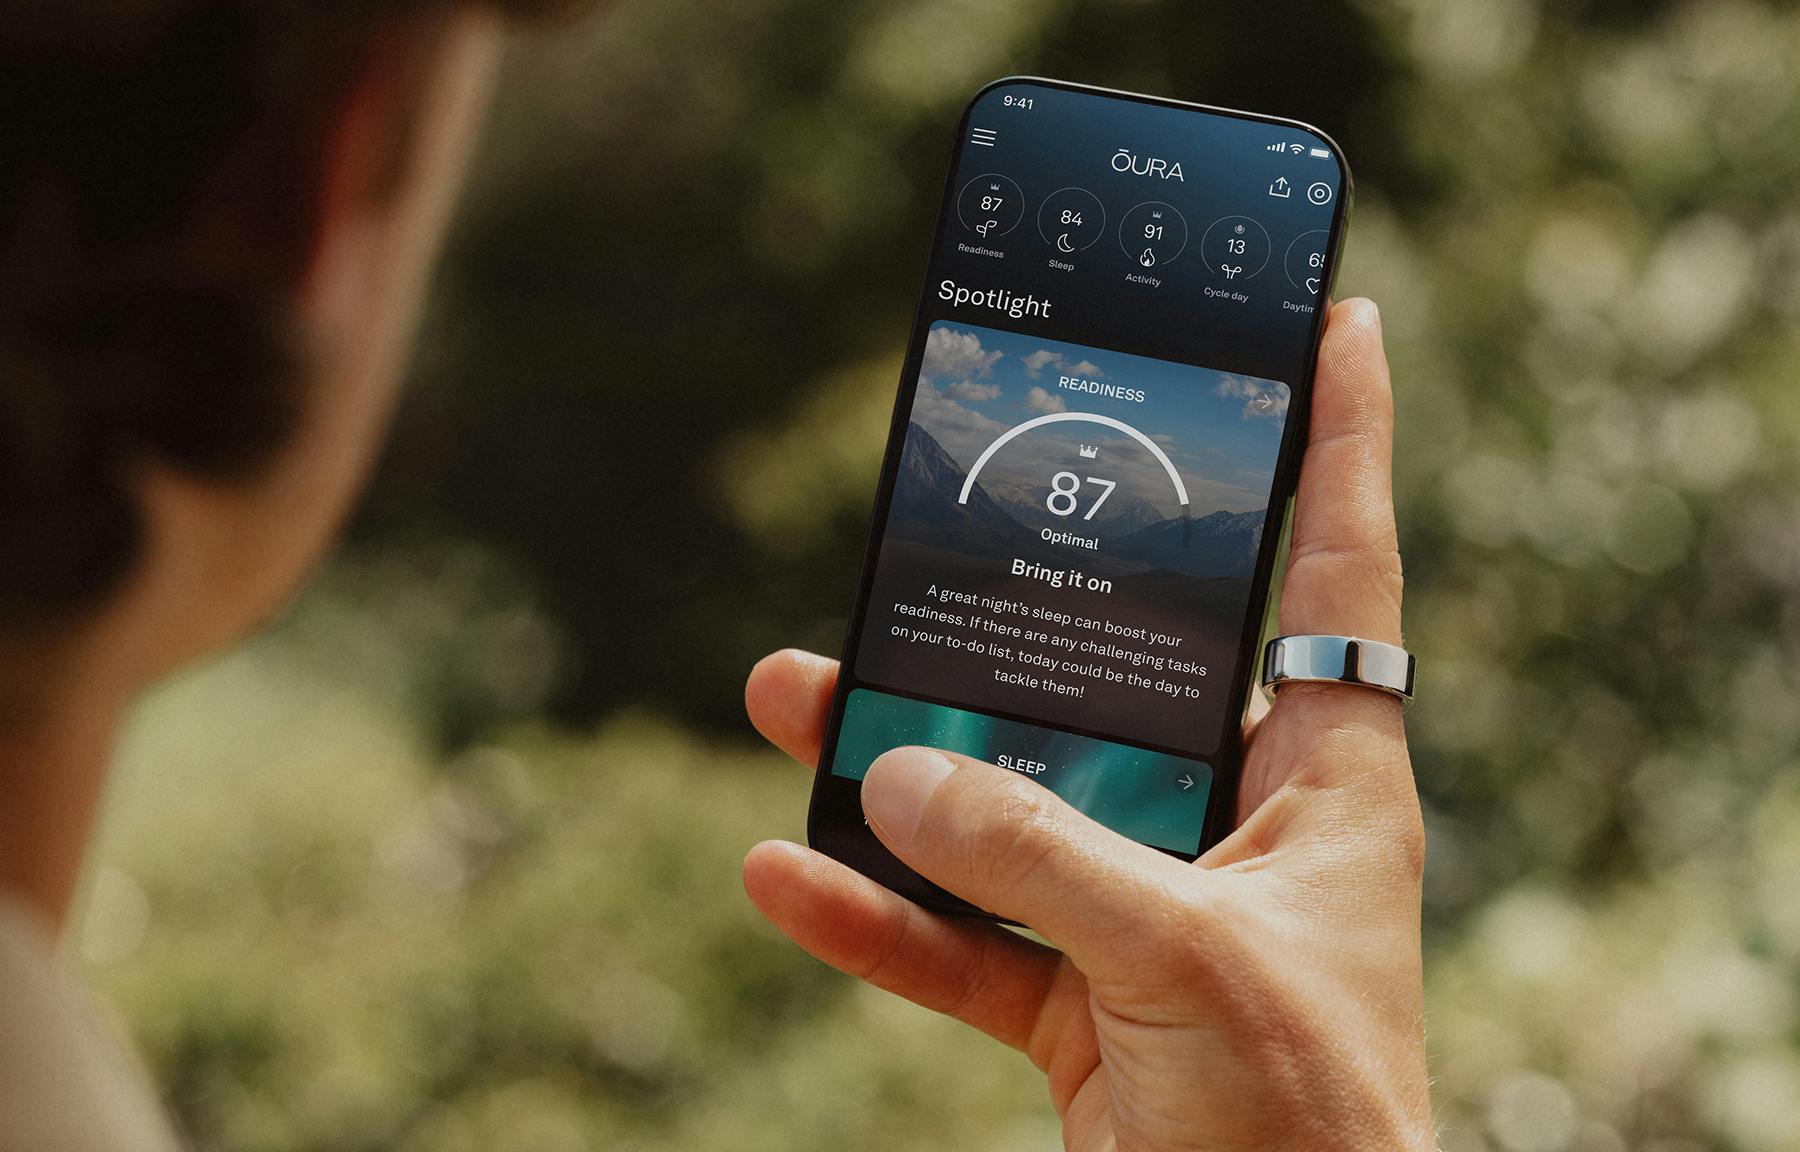
Start Getting Insights
After the first full night of wearing your ring, you will begin seeing your Sleep, Readiness, and Activity Scores, along with other personalized guidance.
During the first few weeks of ring use, your baselines are formed. After these are established, your guidance from Oura will become even more personalized. Note that some insights, such as Bedtime Guidance, Body Clock and Chronotype, Resilience level, and Cardiovascular features take time to develop.
Once Oura gets to know you better, these insights will begin to appear.
Learn How to Use Your Oura Insights
Now that you’re getting insights from Oura, you might be wondering how to use the data to improve your sleep and well-being.
Start by exploring your daily sleep data, which includes information on the duration, quality, and stages of your sleep. Pay attention to trends and patterns, such as the time you go to bed and wake up, and what effect this has on your scores.
You can also start looking at other data points, like your resting heart rate, heart rate variability, and activity levels. You can use this information to identify lifestyle habits that might be impacting you positively or negatively.
Enjoy the journey of discovering how your choices influence your well-being and make the most of the valuable insights at your fingertips!
You can also access your trends and download your data through your web browser here.
| Member Tip: When you regularly tag habits and life events, like supplement use or illness, you’ll start to receive Discoveries. These are insights that show you the impact of tagged activities and habits on your biometrics, based on trends in your past data. |
Why Is My Oura Ring Flashing Red?
You may notice that sometimes your Oura Ring flashes red. This is because it’s measuring peripheral oxygen saturation (SpO2) levels in your blood. By sending light from the ring’s red and infrared LEDS into your finger while you sleep, it can then measure how much light is reflected. Richly oxygenated blood reflects more red light than infrared light, while poorly oxygenated blood reflects more infrared light than red light.
LEARN MORE: How Does Blood Oxygen Sensing (SpO2) Work?